If the tire has a large cut or is otherwise severely damaged, you will need to have the vehicle towed. If the tire only has a small puncture, from a nail for instance (do not remove the nail), you can use the temporary tire repair kit so that you can drive to the nearest service station for a more permanent repair.
- Park the vehicle on a firm, level and non-slippery surface, and apply the parking brake.
- Change the position to Park (P).
- Turn the hazard warning lights and set the power mode to VEHICLE OFF (LOCK).
-
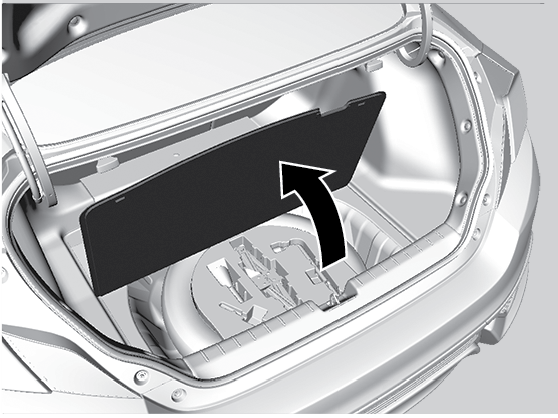
Open the trunk floor lid.
- Take the kit out of the case.
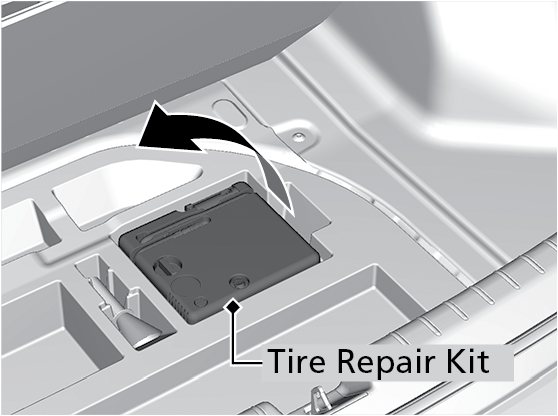
- Place the kit face up, on flat ground near the flat tire, and away from traffic. Do not place the kit on its side.
Injecting Sealant and Air
- Remove the valve cap from the tire valve stem.
- Remove the sealant/air hose from the packaging.
- Attach the sealant/air hose onto the tire valve stem. Screw it until it is tight.
- Plug in the compressor to the accessory power socket.
- Start the engine. Keep the engine running while injecting sealant and air.
- Turn the selector switch to REPAIR (for U.S. models) or SEALANT/AIR or PRODUIT ANTIFUITE/AIR (for Canadian models).
- Press the inflator switch to turn on the compressor
- Unplug the power plug from the accessory power socket.
- Unscrew the sealant/air hose from the tire valve stem. Reinstall the valve cap.
- Press the pressure relief button until the gauge returns to (0 kPa).
- Apply the repair notification label to the flat surface of the wheel.
Getting Ready to Replace the Flat Tire
-
Open the
trunk floor lid.

-
Take the tool
case out. Take the jack and wheel nut wrench out of the tool
case.
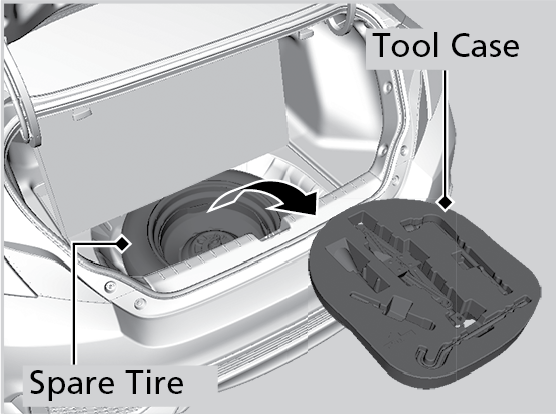
- Unscrew the wing bolt, then remove the spacer cone. Then, remove the spare
tire.
-
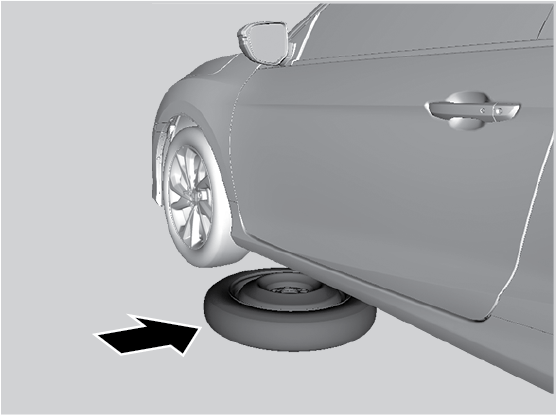
Place the spare tire (wheel side up) under the vehicle body, near the tire that needs to be replaced.
-
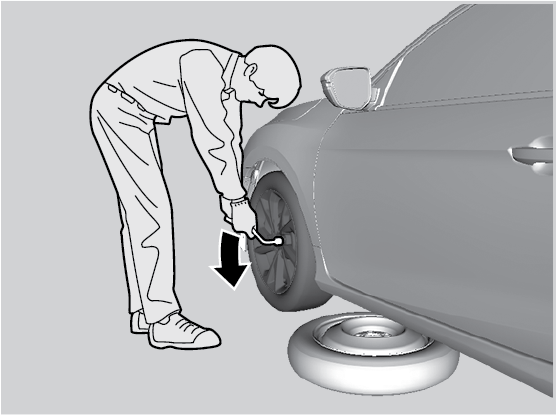
Loosen each wheel nut about one turn using the wheel nut wrench.
