If the tire has a large cut or is otherwise severely damaged, you will need to have the vehicle towed. If the tire only has a small puncture, from a nail for instance (do not remove the nail), you can use the temporary tire repair kit so that you can drive to the nearest service station for a more permanent repair.
- Park the vehicle on a firm, level and non-slippery surface, and apply the parking brake.
- Change the shift position to Park (P).
- Turn the hazard warning lights and set the power mode to VEHICLE OFF (LOCK).
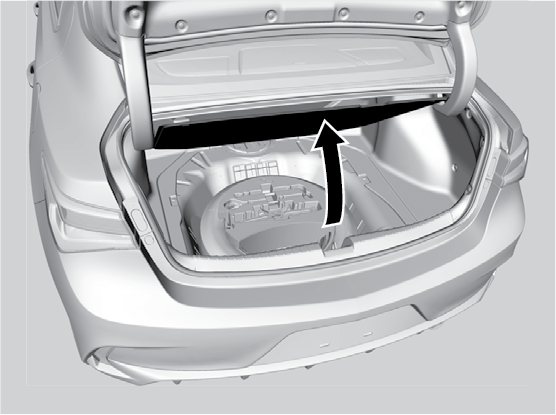
- Push the rear edge of the handle on the floor lid and open the lid.
- Take the kit out of the case.
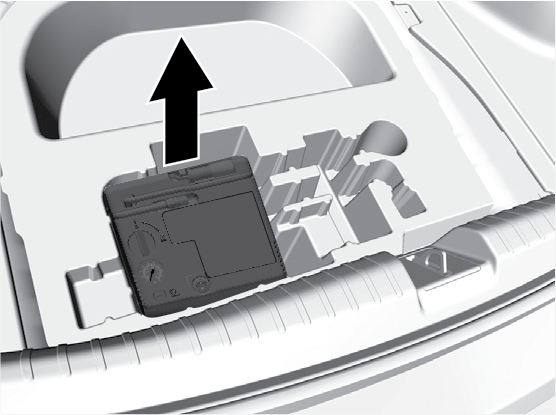
- Place the kit face up, on flat ground near the flat tire, and away from traffic. Do not place the kit on its side.
Injecting Sealant and Air
- Remove the valve cap from the tire valve stem.
- Remove the sealant/air hose from the packaging.
- Attach the sealant/air hose onto the tire valve stem. Screw it until it is tight.
- Plug in the compressor to the accessory power socket.
- Start the engine. Keep the engine running while injecting sealant and air.
- Turn the selector switch to REPAIR (for U.S. models) or SEALANT/AIR or PRODUIT ANTIFUITE/AIR (for Canadian models).
- Press the inflator switch to turn on the compressor
- Models with 215/45R17 87V tires: After the air pressure reaches front: 35 psi (240 kPa)/rear: 33 psi (230 kPa), turn off the kit.
- Models with225/40R18 92V tires:
After the air pressure reaches
front: 33 psi (230 kPa) rear: 32 psi (220 kPa) or more
, turn off the kit.
Continue driving for another 10 minutes or until you reach the nearest service station, whichever is sooner. Do not exceed 50 mph (80km/h). If you have not reached a service station after 10 minutes, stop in a safe place and check the tire pressure.
Models with P215/45R17 87V tires: Greater than 25 psi (175 kPa), but less than front: 35 psi (240 kPa)/rear: 33psi (230 kPa), turn off the kit.
Models with 225/40R18 92V tires: Greater than 25 psi (175 kPa), but less than front: 35 psi (240 kPa)/rear: 32psi (220 kPa), turn off the kit.
- Unplug the power plug from the accessory power socket.
- Unscrew the sealant/air hose from the tire valve stem. Reinstall the valve cap.
- Press the pressure relief button until the gauge returns to (0 kPa).
- Apply the repair notification label to the flat surface of the wheel.
W
Tire sealant contains substances that are harmful and can be fatal if swallowed. If accidentally swallowed, do not induce vomiting. Drink plenty of water and get medical attention immediately. For skin or eye contact, flush with cool water and get medical attention if necessary.
W
Running the engine with the vehicle in an enclosed or even partly enclosed area can cause a rapid build-up of toxic carbon monoxide. Breathing this colorless, odorless gas can cause unconsciousness and even death. Only run the engine to power the air compressor with the vehicle outdoors.
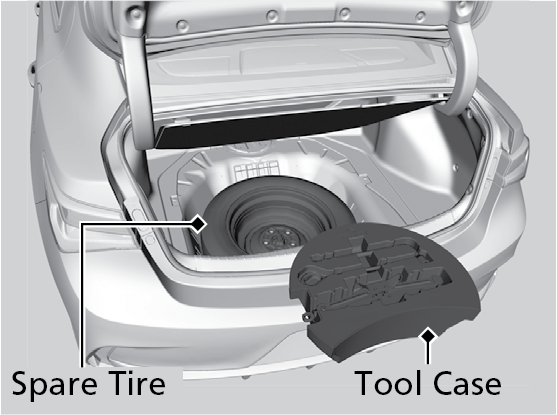
Getting Ready to Replace the Flat Tire
-
Open the
trunk floor lid.
-
Take the tool
case out. Take the jack and wheel nut wrench out of the tool
case.
- Unscrew the wing bolt, then remove the spacer cone. Then, remove the spare
tire.
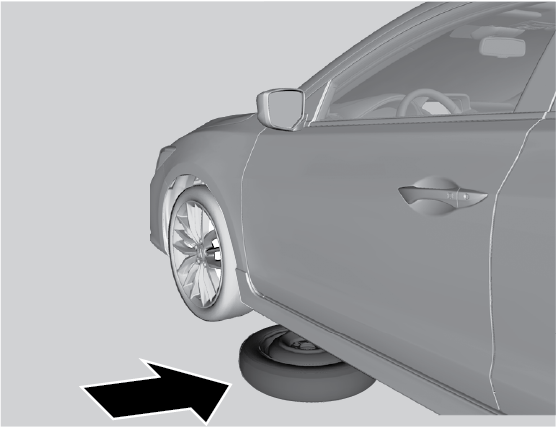
-
Place the spare tire (wheel side up) under the vehicle body, near the tire that needs to be replaced.
-
Loosen each wheel nut about one turn using the wheel nut wrench.
